
A campervan layout can look perfect in a rendering and still feel awkward on day three of a real trip. The difference is usually not the van model or the budget—it’s whether the layout was designed for travel rather than for a photo.
Travel-friendly means you can move through the space without contortions, cook without unloading half your gear, sleep well without daily furniture gymnastics, and handle the boring realities (wet coats, muddy shoes, charging devices, topping up water) without resentment. If you’re sketching your first build—or rethinking a current setup—here’s how to approach the layout like a seasoned road-tripper.
Start With How You Actually Travel
Before you draw cabinets, define the rhythm of your trips. Ask yourself a few blunt questions:
- Are you moving every day, or do you stay put for two or three nights?
- Do you cook most meals inside, or are you a café-and-snacks traveller?
- Do you bring sports kit (bikes, surfboards, climbing gear), pets, or kids?
- Are you chasing warmth and long evenings, or touring in shoulder seasons with rain?
Your answers should dictate the “non-negotiables.” For frequent movers, quick setup is king: fewer conversions, fewer loose items, and clear access to essentials without opening ten cupboards. For longer stays, comfort and living space matter more, so you might prioritise a bigger lounge or a more generous kitchen.
Define Your Two Core Zones: Day and Night
Most layouts fail because they try to make one area do everything. A practical van has two clear modes:
- Day mode: easy entry/exit, comfortable seating, a usable kitchen, accessible storage.
- Night mode: fast bed setup, safe ventilation, and minimal fuss if you wake up.
If switching modes takes more than a couple of minutes—or requires moving your “must-have” items—you’ll feel it on a long trip.
Plan the Floor Like a Small Apartment, Not a Car
Think in terms of circulation: where your feet go, where your elbows go, where wet things get hung. In a van, inches matter, but sequence matters too.
A simple test: imagine arriving late in the rain. Where do shoes go? Where does a dripping jacket hang? Can you reach a towel without climbing onto the bed? That entry sequence is a major predictor of how “travel-friendly” your build will feel.
Choose a Layout Type That Matches Your Priorities
There’s no universal “best” layout, but there are predictable trade-offs:
- Fixed bed (often rear): unbeatable for fast nights and great for under-bed storage, but you give up daytime floor space.
- Convertible bed (dinette/sofa): more lounge room by day, but you’ll pay the “setup tax” daily, and bedding storage becomes a constant puzzle.
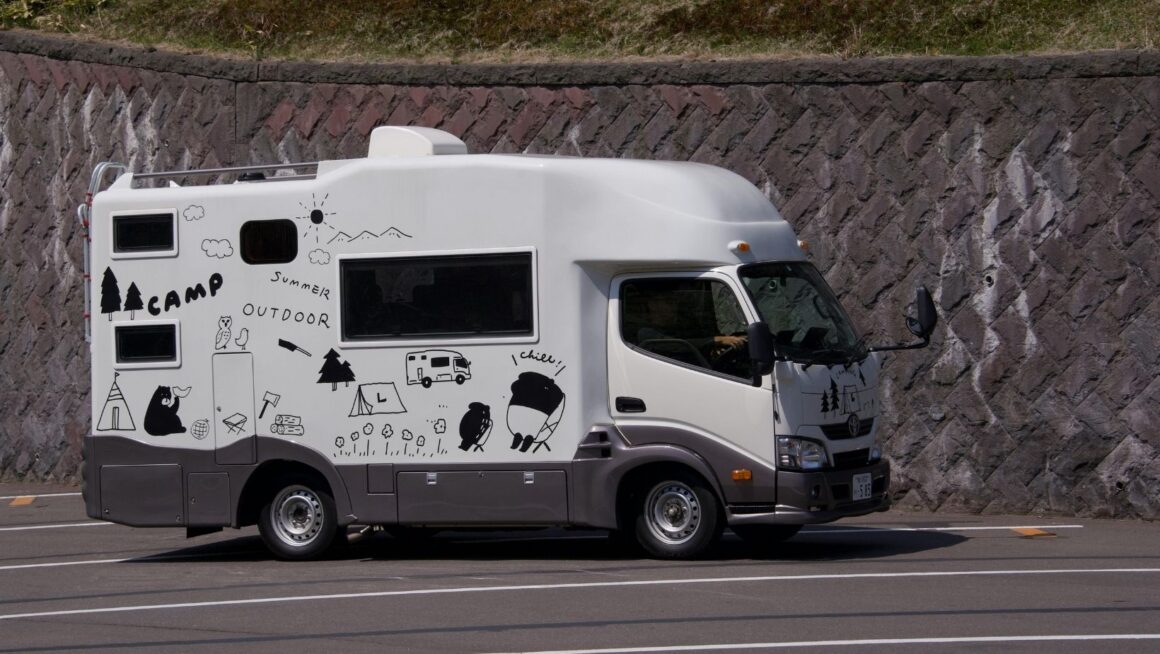
- Side kitchen vs. rear kitchen: side kitchens keep you near the sliding door for ventilation and quick stops; rear kitchens can feel spacious but may reduce bed options or create awkward access.
If you’re considering a Ford Custom-sized platform, it’s worth studying a few well-resolved layouts to see how they balance these compromises—details like door placement, seat bases, and usable aisle width are hard to visualise on paper. If you want a concrete reference point, you can see our Ford campervan conversion options to compare how different zoning decisions play out in a real build.
Get the “Use It Every Day” Details Right
A travel-friendly layout is mostly the unglamorous stuff: clearances, access, and the boring but essential utilities.
Prioritise Access Over Volume
It’s tempting to design maximum storage and call it a win. But a huge cupboard you can’t reach without moving the table is not functional storage.
Aim for:
- Top-access + front-access where possible. Under-seat lockers are great, but include a hatch that opens without converting the bed.
- One dedicated “daily drawer.” Cutlery, lighter, headtorch, chargers, tea/coffee—things you grab constantly should live in one place.
- A wet zone. Even a small tray by the door, a hook rail, and a breathable bag for damp gear reduces chaos.
Use This Quick Measurement Checklist
You don’t need to be an engineer, but you do need to respect human movement. As you sketch, sanity-check these basics:
- Aisle width: enough to pass without turning sideways every time (especially if two people travel together).
- Kitchen worktop length: you need at least one clear prep area that isn’t also the “put everything down” zone.
- Bed length and shoulder room: sleeping slightly diagonally gets old quickly.
- Seat height and back support: if your seating is only tolerable for 15 minutes, rainy days will be miserable.
(That’s your one moment of bullets—use it as a design audit.)
Design Storage Around Categories, Not Cabinets
The storage question isn’t “how many cupboards can I add?” It’s “where does each category of item live so it’s easy to load, find, and put back?”

A smart system usually separates into:
- Transit items: sat-nav mount, snacks, sunglasses, passports, dog lead. Keep these reachable from the cab or just behind it.
- Stopover items: levelling blocks, hook-up cable, chairs, awning kit. These should be accessible from the rear or sliding door without opening the whole van.
- Living items: clothes, toiletries, kitchen staples. These need dust-free, dry storage that doesn’t require rearranging bedding.
If you’re constantly shifting items between categories (for example, moving chairs to reach clothes), the layout is fighting your travel style.
Don’t Ignore “Outside Storage” Logic
Where will you put a rubbish bag overnight? Where do you store muddy boots so the van doesn’t smell like a locker room? Even a compact external box or a dedicated sealed locker can transform day-to-day comfort.
Build Utilities Into the Layout Early (Not as an Afterthought)
The most common rookie mistake is designing the furniture first and then trying to squeeze in water, electrics, and ventilation. In reality, utilities dictate furniture more than most people expect.
Power and Charging: Put It Where You Live
Charging points should be where you naturally spend time: near the bed, near the main seat, and near any work surface you might use for a laptop. If you have to string cables across the aisle, you’ll do it—then trip over them.
Ventilation Is a Layout Feature
Roof vent placement affects where you cook, where you sleep, and how condensation behaves. Cooking under poor ventilation is unpleasant and, long-term, hard on materials. Sleeping without airflow is worse. Plan vents and windows as part of the zoning, not as accessories.
Water: Think About Refilling and Winter Use
A travel-friendly van makes refilling simple and predictable. Consider whether your fill point is accessible at awkward angles, and whether tanks and lines are protected if you travel in cold months. If you’re frequently on the move, you’ll appreciate a setup that doesn’t require contortions at every service point.
Test the Layout With Real Scenarios Before You Commit
Before anything is built, run a few “day in the life” walkthroughs. Literally stand in the empty van (or map it with tape on the floor) and act out:
- making coffee while someone else gets dressed
- coming in wet and cold
- switching to bed mode when you’re tired
- grabbing a first-aid kit quickly
- working inside for an hour
If any scenario feels clumsy now, it won’t magically improve once everything is boxed in.
The Bottom Line: Travel-Friendly Is Friction-Free
A great campervan layout isn’t the one with the most features—it’s the one with the least friction. You should be able to stop for ten minutes or stay for three days without the van turning into a puzzle. Design around flow, access, and your real travel habits, and you’ll end up with something that feels bigger than its dimensions and calmer than its storage capacity suggests.