
Capturing the magic of your travels in a photo book is a wonderful way to relive those adventures. Creating a stunning travel photo book involves selecting your best photographs, adding personal touches, and designing an appealing layout.
This keepsake can bring your journeys to life and preserve your cherished memories.
Imagine flipping through your travel book and being transported back to breathtaking landscapes and unforgettable moments.
Selecting high-quality photos and arranging them thoughtfully can make a significant impact.
Have you considered how a well-crafted travel photo book can tell the story of your adventures?
Planning Your Travel Photo Book
Creating a travel photo book involves choosing a theme, selecting your favorite photos, and designing the layout to match the flow of your trip.
Each step requires thoughtful planning to ensure your memories are beautifully preserved.
Choosing Your Theme and Style
The first step is to pick a theme that matches the mood and destinations of your travels.
For example, a beach vacation might look great with a tropical theme, complete with vibrant colors and seaside motifs.
Consider whether you want a modern, minimalist look or a more whimsical, artistic style.
Selecting a consistent style will provide a cohesive look.
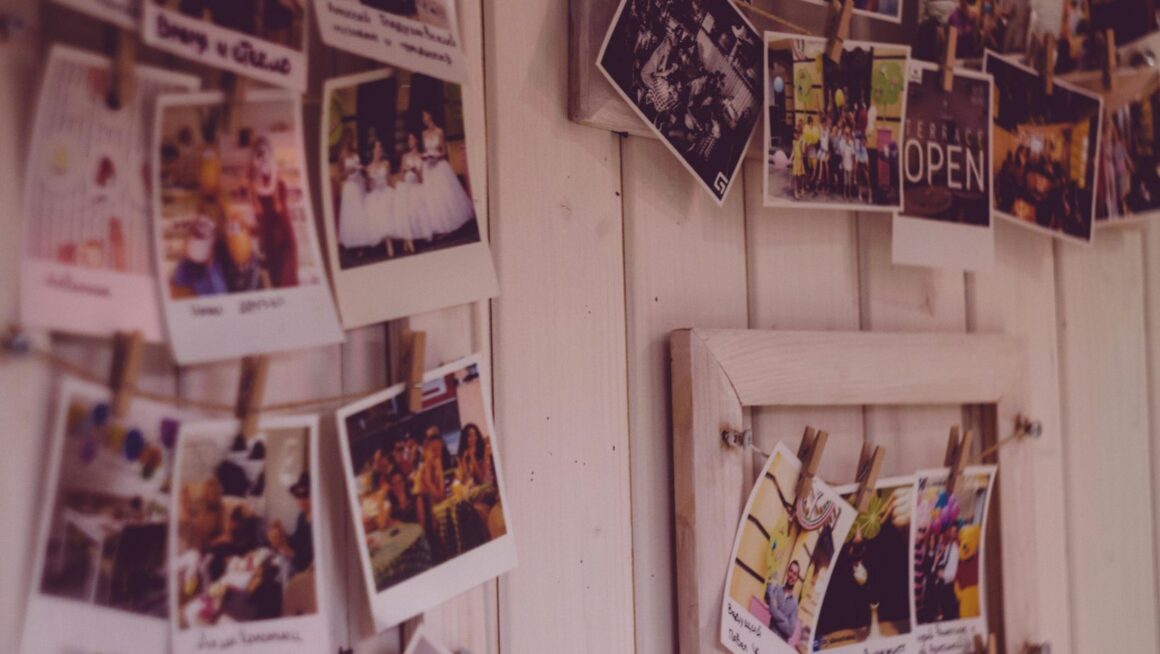
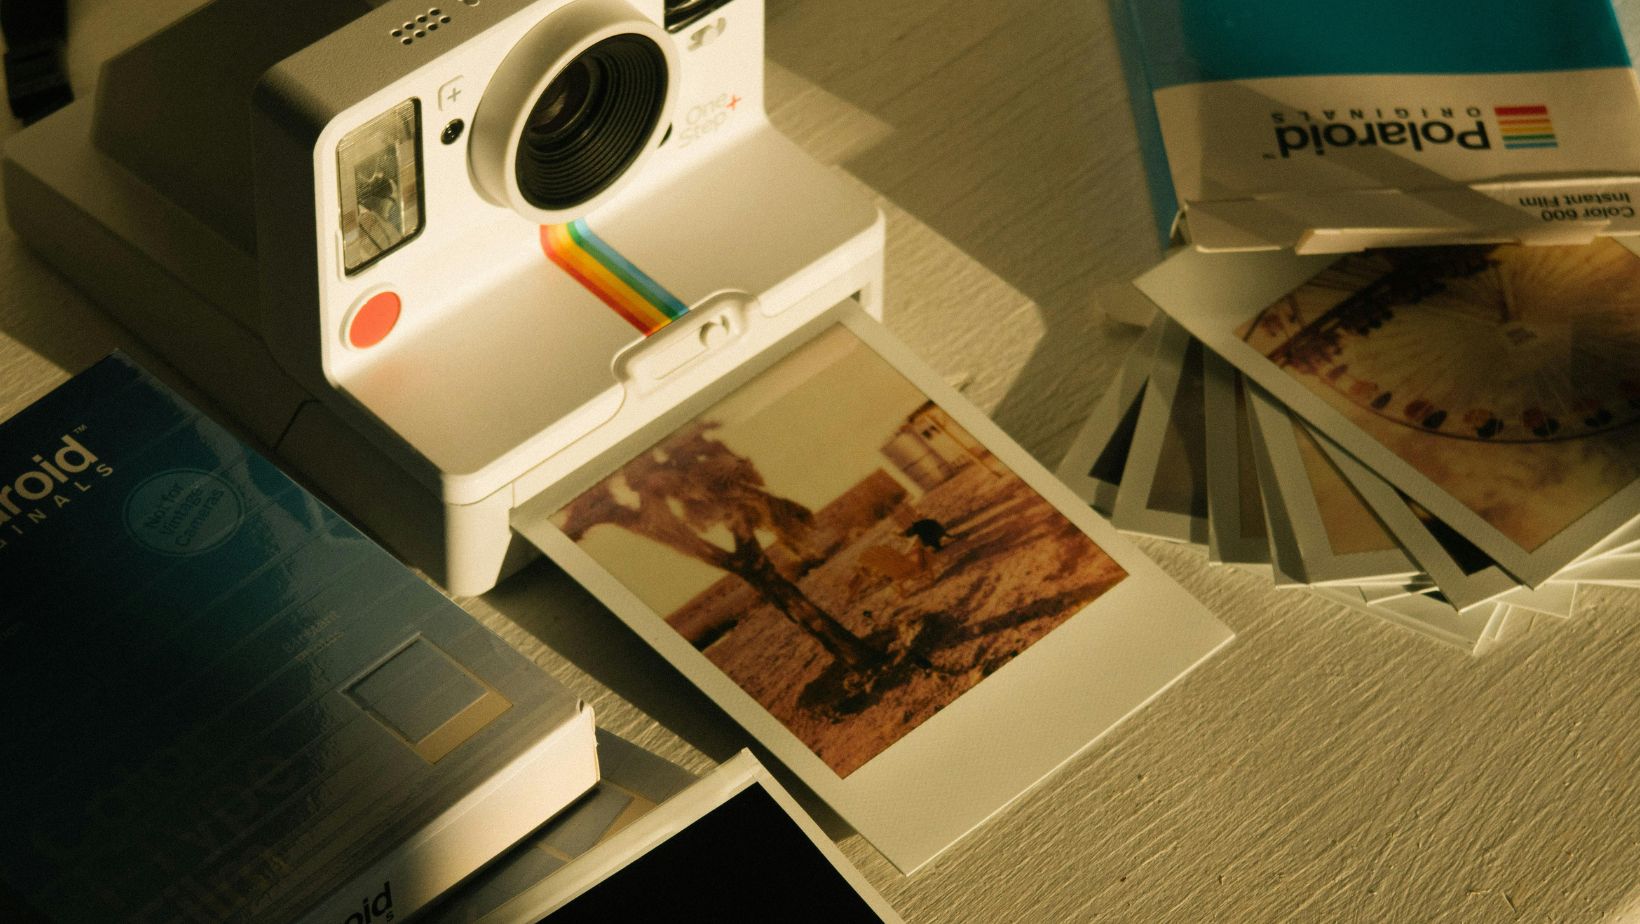
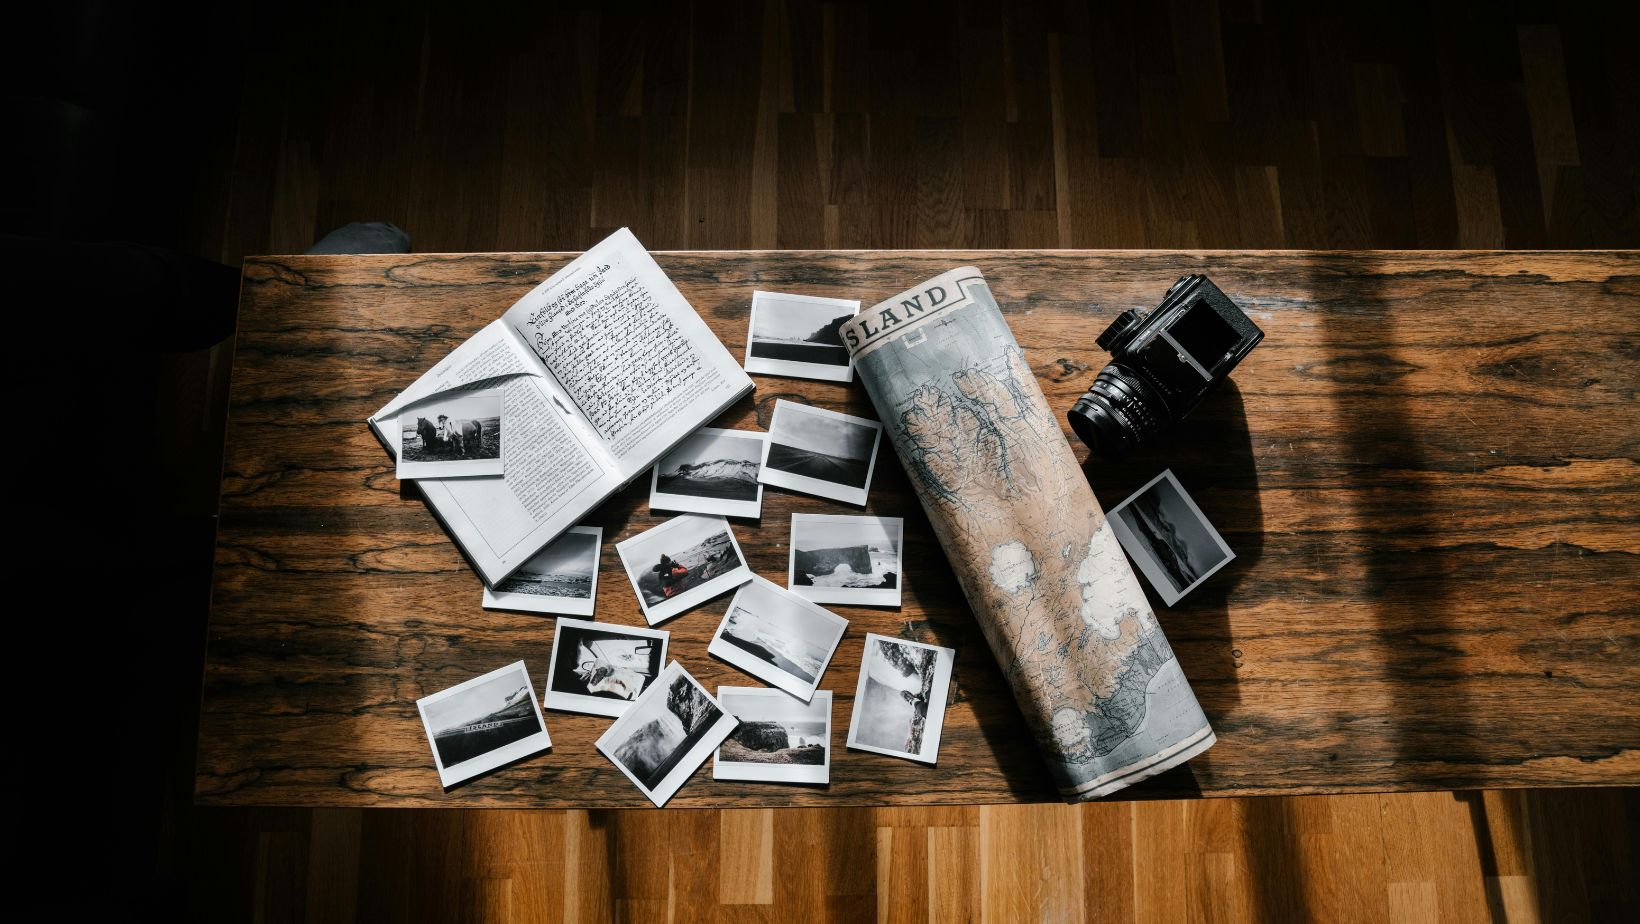
Selecting Photos and Memorabilia
Next, sort through your photos to select those that best capture your experiences.
Aim for a mix of landscape shots, candid moments, and special events. High-quality images that tell the story of your journey should be prioritized.
Don’t overlook adding tangible souvenirs like ticket stubs, brochures, and small mementos.
Scanning these items and adding them to your book can make it even more personal.
Deciding on the Flow and Layout
Finally, decide the flow and layout of your photo book.
It’s usually effective to arrange photos chronologically to tell the story of your trip from start to finish. You might want each page or section to represent different days or locations.
Use lay-flat spreads for panoramic shots, like a view of the Grand Canyon or a cityscape. This not only showcases the photos better but also adds a professional touch.
Experiment with different designs and formats to find what suits your narrative best.
Crafting Your Story
Creating a travel photo book is more than just organizing photos. It’s about weaving together a narrative that captures experiences and emotions.
This section guides you through adding engaging captions, personal anecdotes, and even contributions from travel companions.
Writing Engaging Captions
Captions play a big role in your travel photo book. They help give context to the photos, turning snapshots into stories.
Aim for captions that are short but informative. Share the who, what, where, and sometimes why.
For example, under a photo of the Eiffel Tower, you could write, “Caught this stunning view just as the sun began to set in Paris.”
Add dates or times to give your readers a sense of when events happened. Using humor or emotion can also make captions more memorable.
Incorporating Personal Anecdotes
Adding personal stories brings your travel photo book to life. These anecdotes provide a deeper glimpse into your experiences.
Did you meet someone interesting during your trip? Include a snippet about them.
For instance, describe how a local vendor in Thailand taught you a few phrases in Thai. Maybe share the funny moment when you got lost in a bustling market.
Personal anecdotes make your book unique and relatable, allowing readers to connect with your journey on a deeper level.
Featuring Guest Contributions
If you traveled with friends or family, invite them to add their voices. Ask them to write about their favorite memories or moments from the trip.
This gives a fresh perspective and diversifies the storytelling.
For example, let your travel buddy write a paragraph about their first scuba diving experience. Or have a family member share their thoughts on a memorable meal.
Incorporating these elements turns a simple collection of photos into a vibrant and engaging story.
Design and Production
Creating a travel photo book involves not just selecting your favorite travel photographs but also editing, choosing the right materials, and adding final touches to make it unique.
Each step contributes to the quality and feel of your photobook.
Editing and Enhancing Photos
To start, you should edit your photos to improve their quality.
Crop out unnecessary parts, adjust the lighting, and enhance colors for a vibrant look. Remove the red-eye and correct the photo frame if it’s off-center.
Software like Adobe Lightroom and Photoshop can be very useful here, but even free apps like Snapseed can do wonders.
The goal is to make your travel photographs look as stunning as possible.
Choosing Materials and Print Quality
The materials you choose for your photobook affect its durability and appearance.
High-quality paper, such as premium luster or glossy, will give your book a professional look.
Opt for thick, durable pages that can withstand frequent viewing. You may also want to explore different covers like hardback, leather, or linen to add a special touch.
Print quality is critical. Look into options like archival-quality printing to ensure your photos won’t fade over time.
Do some research on printing services like Shutterfly or Blurb to find out their options and user reviews.
The Final Touches Before Printing
Add text to your photo book to narrate the journey. Captions under photos or small notes about the place or moment can add a personal touch.
Be sure to double-check for typos and consistency in font styles and sizes.
Consider adding special elements like a map of your travels or a list of places visited. You can also use templates that provide a polished and cohesive look.
Before hitting the print button, do one last review of the entire book. Check the alignment, margins, and overall layout. Make sure each page looks exactly how you want it.
Now you’re ready for printing!